

AI-generated concept image for illustration; not a photograph of an actual factory, production batch, inspection, or customer order.
Rigid box wrapping turns a structural greyboard shell into the visible surface that customers touch. The choice of paper matters, but procurement problems often appear where that paper meets an edge, folds around a corner, turns inside the box, or aligns across a lid and base. A sample can look attractive from the front while still leaving unanswered questions about seams, exposed board, color direction, glue marks, or production consistency.
Buyers can prevent those surprises by separating subjective design preferences from observable workmanship checks. This guide explains how to brief the wrapping construction, review physical samples, define a usable approval reference, and inspect production without inventing a universal tolerance for every box.
What the Wrapping Layer Does
A typical rigid box uses formed paperboard for structure and a separate printed, dyed, textured, or laminated sheet for its finished surface. The wrap may cover a lid and base, a shoulder-and-neck construction, a drawer, or another setup-box format. It carries color and graphics while also concealing the structural board and folded joints.
Per custom rigid box wrapping, the drawing should distinguish the structural board from the outer wrap, inner lining, hinge material, and any insert covering. That distinction helps the supplier quote the intended build and helps the buyer understand which surfaces will be visible when the box is open. Start with the intended format on the rigid boxes page, then document every visible face on the dieline or construction drawing.
Choose the Wrap for the Actual Structure
Superficie, stampa, and fold behavior
Luxury box wrapping paper can be smooth, rivestito, uncoated, textured, metallico, patterned, printed, or laminated. A visual swatch alone does not show how the material behaves around a tight corner. Spessore, stiffness, rivestimento, grain, tessitura superficiale, ink coverage, and finishing can affect folding, rubbing, cracking, and glue response. Review the chosen material on the actual box shape rather than approving it only as a flat sheet.
Directional textures and patterns need an orientation plan. Mark the top, front, reading direction, and grain or pattern direction on the artwork and sample record. If a lid and base must appear continuous, state where visual alignment matters and where a seam or slight interruption is acceptable.
Color and finish references
A digital screen is not a reliable sole reference for a physical wrapped surface. Establish the intended substrate, processo di stampa, coating or lamination, viewing conditions, and approved physical sample. Use the custom packaging color-matching guide to organize color communication, and compare matte and gloss lamination when the wrap requires a protective film.
Dark solid colors, broad ink coverage, soft-touch surfaces, and highly reflective finishes can reveal handling marks differently. Define how samples will be handled and viewed, then review appearance together with the packaging scuff-resistance approval process. Do not infer a durability claim from appearance alone.
Corner Seams and Fold Geometry
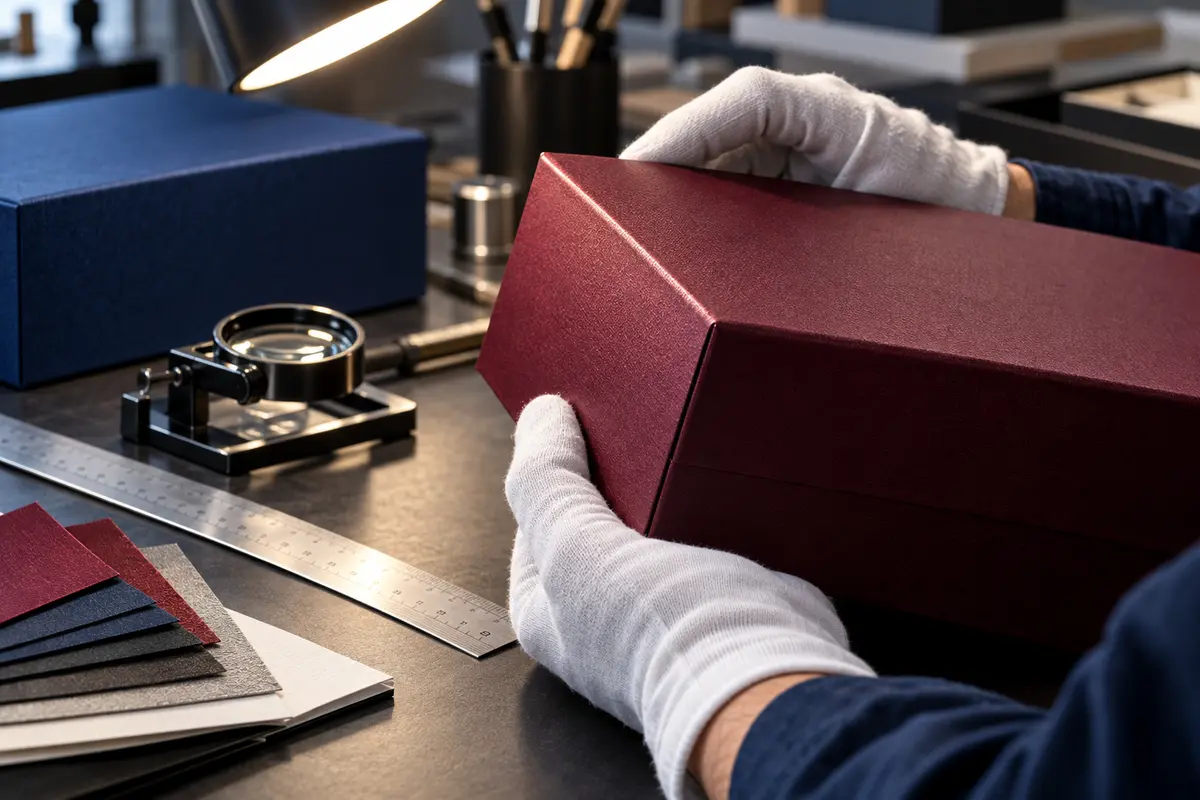
AI-generated concept image for illustration; not a photograph of an actual factory, production batch, inspection, or customer order.
UN rigid box corner seam is a small area with an outsized effect on perceived quality. The wrap must fold around intersecting board edges while controlling overlap, tension, and bulk. Buyers should inspect whether the seam is neat, closed, and visually consistent; whether raw board is exposed; whether the printed design is interrupted unexpectedly; and whether excess paper creates a raised ridge.
View every corner, not just the front-right corner used in a presentation photograph. Compare the lid and base, external and internal corners, and any shoulder or neck. A seam that is acceptable on a rear face may be distracting on the display face. The artwork brief should therefore state preferred seam locations and identify the primary viewing orientation.
Avoid specifying a generic maximum gap copied from another project. Spessore del pannello, wrap construction, paper behavior, dimensione della scatola, and visual design all influence what is practical. Invece, agree on the physical approval sample, use close-up photographs to identify acceptable and unacceptable conditions, and record any project-specific measurement only after the supplier has evaluated the construction.
Turn-Ins, Inner Edges, and Exposed Board
IL rigid box paper turn-in is the portion folded over the top edge and bonded to the inside face. It should conceal the structural board and remain compatible with the inner liner, neck, tray, or insert. Inspect turn-in depth and consistency around the perimeter, especially at corners and around cut-outs.
Ask which layer finishes the interior. In some constructions, an inner lining covers the turn-in; in others, part of the folded wrap remains visible. Confirm the intended overlap sequence before approving artwork near an edge. Copy, fine rules, confini, and foil placed too close to a fold may shift onto another face or appear uneven after wrapping.
Also check for adhesive squeeze-out, stains, bubbles, lifting, wrinkles, or trapped debris. These are visual conditions, not evidence that every sample has the same root cause. Record where the issue appears and how often it appears so the supplier can investigate the material, adesivo, setup, handling, or environment.
Align the Lid, Base, Graphics, and Edges
Wrapped box edge alignment includes more than a straight-looking paper edge. On a lid-and-base box, the buyer may care about the lid overhang, the reveal between parts, the orientation of a logo, the position of a pattern, and the apparent continuity of color. A structurally correct fit can still look uneven if the graphic reference points are unclear.
Mark critical alignment features on the drawing. State whether the lid can rotate, whether front and back are interchangeable, and whether artwork must register across separate components. If the box contains a removable insert, confirm that the insert orientation does not force the product to face the wrong direction when the lid is opened.
Functional fit still comes first. A lid that looks tightly aligned but traps air, scrapes the wrap, or becomes difficult to open is not a good outcome. IL structure and sampling process helps teams confirm fit with the real product before decoration is locked.
Build a Useful Approval Reference

AI-generated concept image for illustration; not a photograph of an actual factory, production batch, inspection, or customer order.
Rigid box finish approval should identify exactly what has been approved. Record the box dimensions and construction revision, specifica della scheda, wrap material, artwork version, print and finish combination, liner, inserire, and any agreed seam orientation. Date the physical reference and give it a sample number that appears in the purchase order or quality brief.
Keep separate references when one sample cannot represent everything. A color target may be a signed print sheet, while construction and workmanship are represented by an assembled box. If a hand-made sample differs from the intended production method, note that limitation rather than treating every detail as a production promise.
A disciplined rigid box sample inspection includes the closed box, esperienza di apertura, every external face, all corners, turn-ins, inner lining, and product fit. Photograph the approved views under consistent lighting. Written comments should point to a location and condition—for example, “no visible greyboard at the front-left lid corner”—instead of using only broad words such as “premium” or “perfect.”
Production Inspection Without Vague Standards
Wrapped rigid box quality control needs an agreed sampling plan and defect language that fit the order. The buyer and supplier should decide which conditions are critical to function, which materially affect appearance, and which are minor variations. A rigid box wrapping specification should make those decisions before final inspection, not after the shipment is packed.
During production review, compare units from different cartons and different points in the run with the approved references. Check box fit, corner seams, turn-ins, edge exposure, graphic orientation, color and finish consistency, surface cleanliness, adhesive marks, wrinkles, bubbles, and rubbing. Rotate each box under controlled light because reflective or textured surfaces can hide or exaggerate an issue depending on the angle.
Do not silently replace an approved material or finish when availability changes. Route the proposed change through the documented flusso di lavoro del progetto di imballaggio personalizzato, provide a revised sample, and update the controlled specification.
RFQ and Purchase-Order Checklist
- Stile scatola, closed dimensions, direzione di apertura, and primary display face.
- Structural board, involucro esterno, inner lining, inserire, and visible edge construction.
- Wrap color, struttura, stampa, laminazione, sventare, goffratura, or other finish references.
- Pattern direction, artwork orientation, and any cross-component alignment points.
- Preferred seam locations and agreed corner appearance reference.
- Turn-in and lining relationship, including any area where board must not show.
- Approved physical samples, revision identifiers, fotografie, and known limitations.
- Inspection method, sampling plan, defect language, and change-approval owner.
Domande frequenti
Can I approve the wrapping paper from a digital rendering?
A rendering can confirm layout direction, but it cannot fully represent texture, reflectivity, fold behavior, color on the chosen substrate, or the appearance of assembled corners. Approve physical material and assembled samples for those decisions.
Where should a wrap seam be located?
The preferred location depends on the box structure, opera d'arte, and viewing orientation. Identify the main display face and agree on seam placement during sampling so a necessary overlap does not interrupt a critical graphic.
Why does a dark wrap show more handling marks?
Some dark, opaco, soft-touch, or highly uniform surfaces make fingerprints, rubbing, dust, or small contrast changes easier to see. Evaluate the exact material and finish under realistic handling rather than assuming all dark papers behave alike.
Should the lid and base colors match exactly?
If they use the same intended color, define the common physical reference and production combination. Different substrates, copertura della stampa, grain direction, or finishes may change visual appearance, so assess assembled components together.
What should happen when the approved paper is unavailable?
The supplier should propose a documented alternative and submit a new material or assembled sample for approval. The purchase specification and reference record should be updated before production continues.
Is one perfect sample enough for production approval?
No single sample demonstrates the full range of production variation. Use it as a controlled reference, define the important conditions clearly, and agree on a sampling and inspection method appropriate to the order.
Turn a Visual Preference Into a Production Brief
Successful rigid box wrapping begins with a clear structure, real materials, controlled references, and observable acceptance language. A complete rigid box wrapping brief connects the visual target to repeatable review points. Send your box dimensions, product or insert sample, opera d'arte, wrap and finish preferences, primary viewing face, seam priorities, and approval requirements. PACK Packaging can review these inputs and prepare an appropriate sampling plan before production.