انتقل إلى المحتوى
Custom countertop display boxes give small products a defined place at checkout desks, beauty counters and specialist retail shelves. لكن, an attractive empty sample does not tell a buyer how the display will work when staff fill it, shoppers remove products and the remaining stock becomes uneven.
For B2B buyers, the useful specification covers the complete retail task: available space, product count, visibility, access, replenishment and delivery format. This guide explains how to turn those requirements into a practical brief for a paper packaging manufacturer.
What Are Custom Countertop Display Boxes?
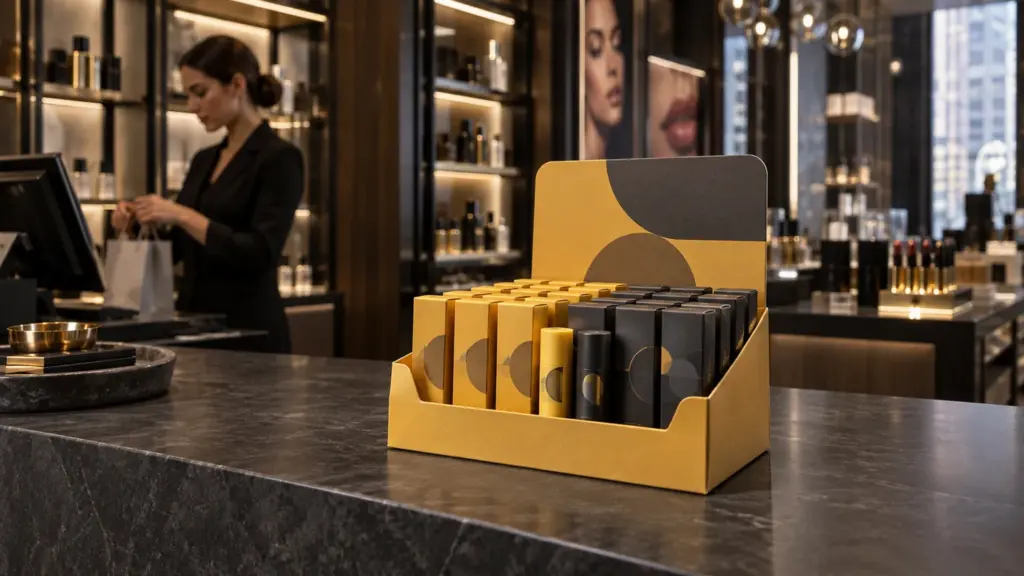
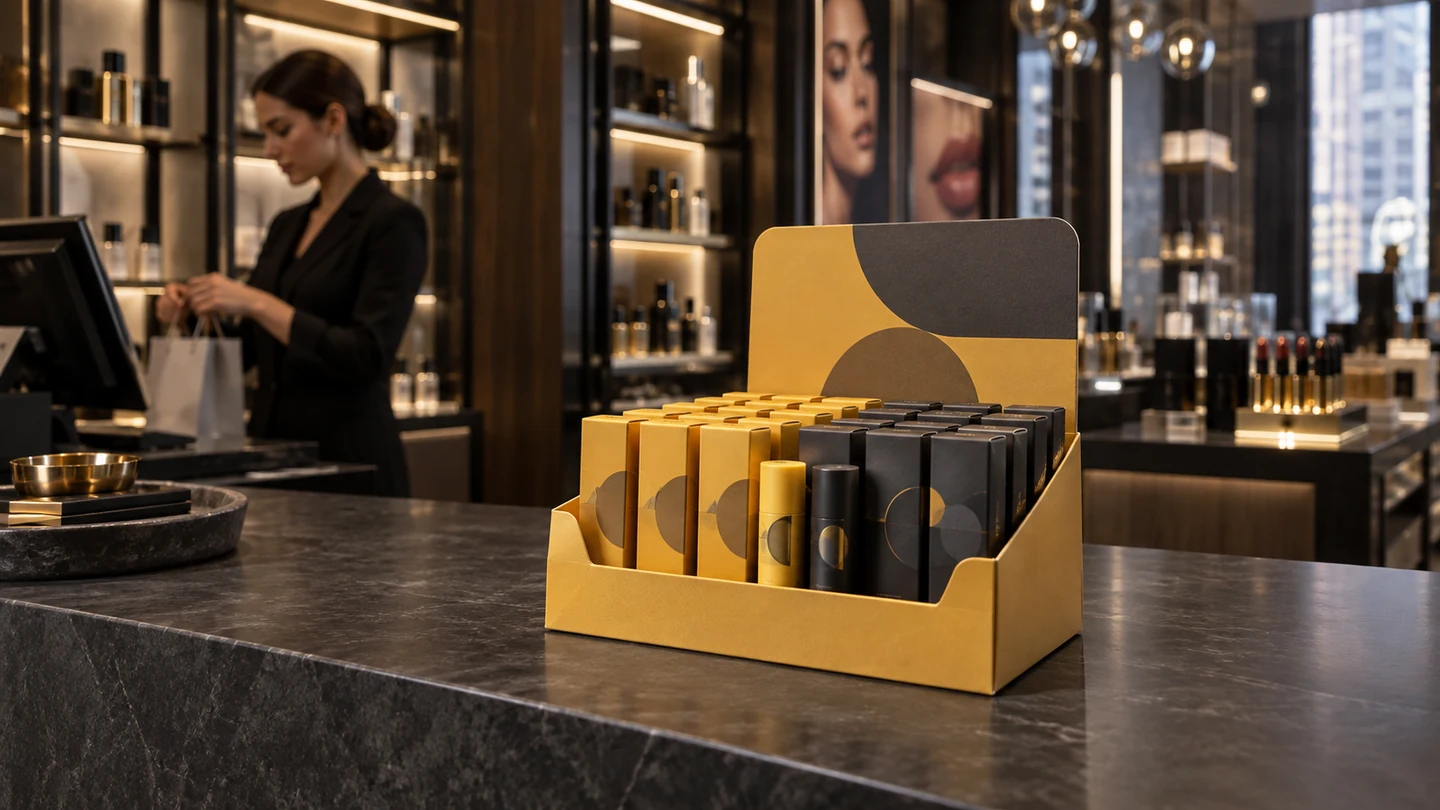
A countertop display box is a small merchandising unit that groups products within a defined footprint. It commonly combines a tray or base with side walls and a back panel carrying brand information. The products may sit directly in the tray or in separate lanes, pockets or inserts.
Specify the display separately from the individual sale pack. A customer may take one boxed lip balm from a display while the tray remains in the store. The display therefore needs to work through repeated product removal, not just look complete when delivered.
Also distinguish a dedicated display from a shipping case that converts into a display. They involve different opening and distribution requirements. State which format you want before asking for a quotation.
Start with the Retailer’s Space and Operating Rules
Ask the retail partner for the permitted footprint, overall height and intended position. A display that fits a design studio table may obstruct a payment terminal, neighboring product or staff sightline at the actual counter.
Record the usable space with the display fully assembled, including its header and any projecting tabs. Confirm whether the unit must move during cleaning or remain within a shelf boundary. Photographs and a simple location sketch can clarify conditions that dimensions alone miss.
التالي, establish who assembles it, who fills it and how staff will receive instructions. Some buyers need a ready-filled unit; others need flat components for stores to assemble. Do not assume every retail partner accepts the same delivery arrangement.
Choose the Product Count from Facing and Refill Needs
Separate the number of products visible across the front from the total capacity behind them. More units are not automatically better if shoppers cannot identify the assortment or remove one item easily.
Prepare a layout using actual finished sale packs. Include the dimensions and weight of each variant, which face should point forward and whether different sizes share a lane. State whether products arrive in a fixed assortment or stores choose their own mix.
على سبيل المثال, a lip-care range might assign a separate lane to each variant. That is a merchandising decision to test with the retailer, not a reason to force every product into an identical compartment. Check that staff can identify and refill the intended lane without unpacking the entire display.
Select Materials and Structure Together
Discuss folding paperboard display structures و corrugated packaging options against the actual loaded design. Ask the manufacturer to identify the proposed board construction rather than quoting only a broad material name.
Decisions include the base, front lip, side walls, header attachment and any internal support. Request a physical explanation of how these parts work together. A heavier-looking sheet alone does not establish that a completed display meets your needs.
Review separate versus integrated headers, glued versus interlocking components and whether the unit arrives flat or assembled. Then handle the sample in its intended condition. Check for loose connections, an uneven base and exposed edges that interfere with product loading or customer access.
Evaluate the Display Full, Partly Empty and Refilled
Approve the loaded display, not just an empty mockup. First check that every intended product fits and presents the correct face. Then remove products from different positions to understand what shoppers see as the stock sells down.
Look for cartons falling into neighboring spaces, products becoming hard to reach and a header that shifts during normal handling. Check whether the front wall hides essential product identification. These are observations for a practical sample review, not a substitute for an agreed engineering or transport test.
Where the layout needs support, discuss custom paperboard inserts and dividers. Ask whether a simpler lane layout can do the same job with fewer components. Refill the sample several ways and record the arrangement you approve so the production reference includes the merchandising layout.

Plan Printing Around the Shopper’s View
Map the artwork onto the assembled structure. Mark which areas remain visible when the tray is full, which become visible as products sell and which are hidden behind the goods. This keeps important messaging away from obstructed panels.
Review brand identification, variant names and any price communication from the expected viewing position. Confirm whether pricing belongs on the permanent print or on a retailer-managed label. Avoid committing variable information to the artwork before the brand and retailer agree who maintains it.
Ask for print and finishing options on the proposed material, with a physical reference where appearance matters. Review folds, cut edges and header attachment areas in the finished sample. Metallic effects or decorative coatings should support the design without making routine product information harder to read.
Define Store Assembly and the Shipping Pack
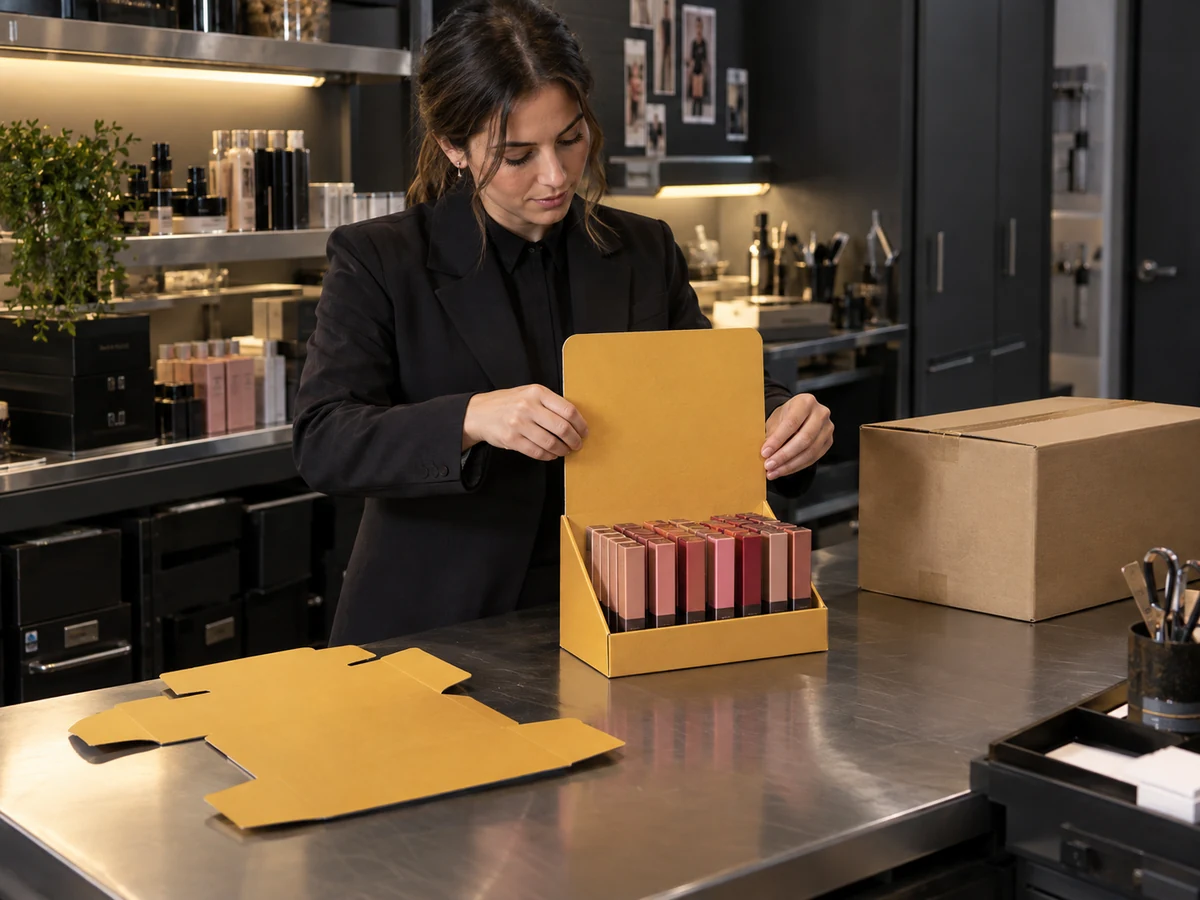
Request an assembly sequence that a store employee can follow without speaking to the designer. Confirm which parts arrive pre-glued, which need folding and whether the header is integral or separate. Check that components can be identified without relying on similar-looking loose pieces.
For a prefilled display, specify the full packed configuration and agree how it reaches the retailer. For an empty flat display, define how units and instructions are grouped for distribution. In either case, assess the transport pack separately; a retail tray should not be assumed to serve as its own shipping carton.
Use structural sampling to rehearse the actual handoff: open the shipment, assemble the display, fill it and place it in the allotted space. Record any instruction changes before approving production.
Compare Cost and MOQ on the Same Scope
Ask quotations to identify the display body, header, إدراج, الطباعة, التشطيب, assembly and outer packing. A low price for an unassembled tray cannot be compared directly with a complete ready-filled merchandising kit.
Request the minimum order quantity by structure and artwork version. If several variants share a base, ask which parts can be common and which require separate production. Do not assume a shared size automatically combines all printed designs into one minimum.
Compare realistic order quantities with the number of intended retail locations and replacement needs. Include assembly work and delivery arrangements in the decision. Keep prices, production schedules and any repeat-order commitments specific to the supplier’s written proposal.
Sustainability and Supplier Selection
Ask for a component list so the buyer can understand the board, الطلاءات, adhesives and added parts in the finished display. Review whether unnecessary components can be removed while retaining the approved merchandising function.
A paper-based appearance is not sufficient evidence for an environmental claim. Have the responsible team check any intended claim against the actual construction and destination-market conditions. على نفس المنوال, request relevant documentation if the display will contact unpackaged food; this guide assumes individually packaged retail products.
Choose a manufacturer that can explain the sample, document revisions and distinguish the display specification from the transport pack. Agree responsibilities for artwork, product samples, assembly instructions and acceptance before placing the production order.
التعليمات
Can custom countertop display boxes hold several product variants?
نعم, when the layout suits the actual assortment. Define the position and capacity for each variant, then check product removal and refilling with the complete range.
Should a display arrive flat or preassembled?
Compare the retail partner’s assembly resources, distribution method and storage space. Request both options where practical and evaluate the complete delivered scope rather than only the unit price.
How tall should the display header be?
Start with the retailer’s permitted height and sightline requirements. Review the assembled sample in the intended location; there is no universal height that suits every counter.
Can the display double as a shipping box?
Only treat that as part of the specification if the opening sequence and complete transport configuration have been designed and verified for the distribution route. خلاف ذلك, quote an appropriate outer pack separately.
Request a Display That Works in the Store
Send PK Packaging the finished product samples or dimensions, assortment, target capacity, retailer space limits, quantity options and preferred delivery format. Include any instructions or merchandising restrictions from the retail partner.
Use the sample review to settle product access, presentation after stock removal and staff assembly. Those decisions turn a display concept into a clear purchasing specification that both the brand and manufacturer can follow.