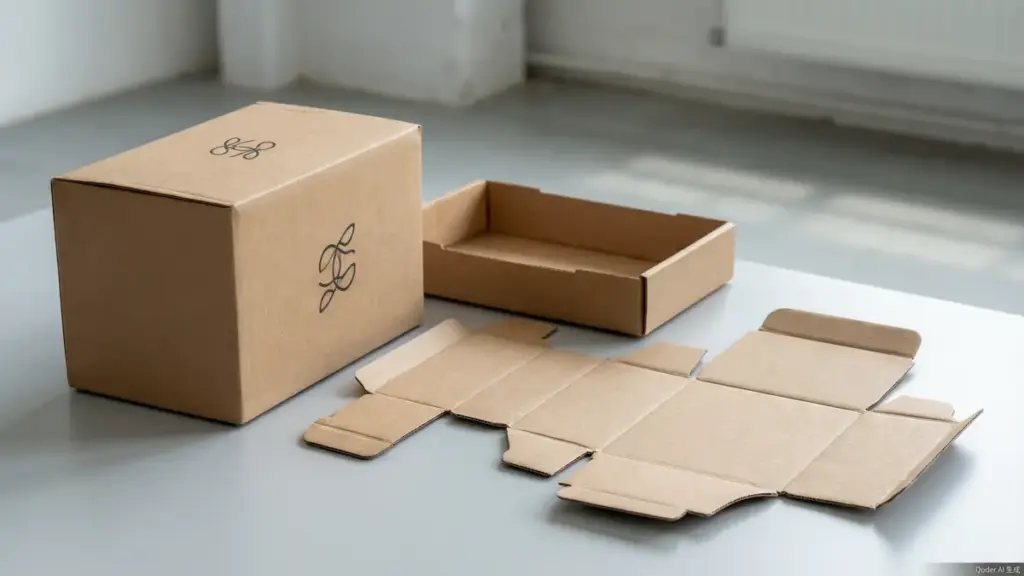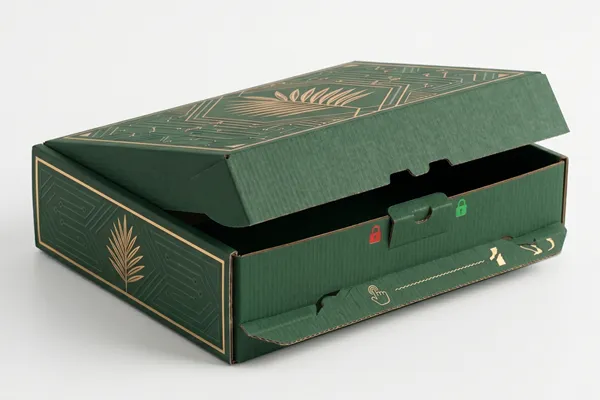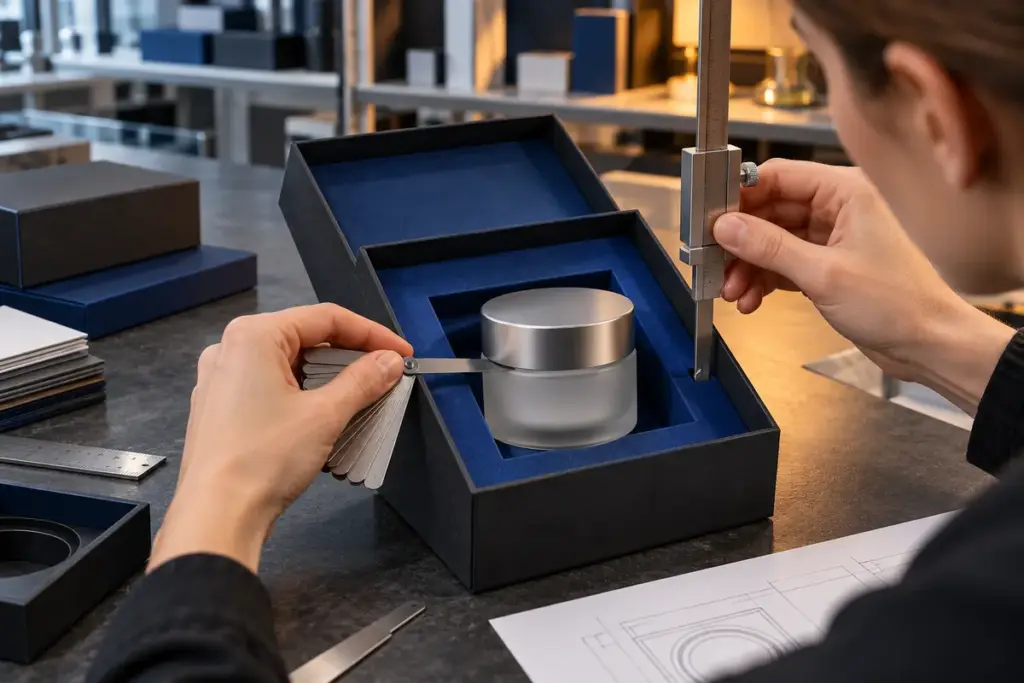
Packaging assembly instructions should be approved alongside the physical sample, especially when a brand receives cartons, inserts or gift boxes flat and assembles them locally. A beautiful prototype does not tell a warehouse operator which panel to fold first, where an insert belongs or when the finished pack should be rejected.
For overseas buyers, this is a practical handoff problem. The supplier knows the structure; the fulfillment team knows the products and working conditions. A useful instruction package connects both sides before launch. This guide explains what to request, how to trial it and which approval records to keep, without assuming a universal assembly speed or labor saving.

Define who assembles the pack and where
Start with the actual receiving operation. Will a contract packer prepare complete sets, a warehouse build each order, or retail staff assemble boxes at checkout? These users have different space, training and replenishment constraints. Record the assembly location, expected product combinations, available tools and the person responsible for checking finished packs.
Separate supplier manufacturing operations from customer assembly. A factory glue joint may already be completed, while the buyer must still erect walls, position an insert and close the lid. Instructions should clearly identify what arrives preassembled. Do not ask operators to reproduce a manufacturing step with an improvised adhesive or tool.
When comparing collapsible and pre-assembled rigid boxes, assess the complete receiving workflow. Freight volume is one consideration; the assembly method, storage conditions and inspection responsibility also matter. Keep these operational requirements in the purchase specification rather than relying on a sales photograph.
Connect the instructions to the approved structure
Effective packaging assembly instructions identify the exact structural drawing and revision. Two cartons can share the same outside appearance while using different tabs, base locks or insert geometry. An instruction sheet for an earlier version can therefore look plausible and still produce an incorrect pack.
For corrugated packaging, the FEFCO design code system provides a shared way to identify common structural styles. Use the relevant code where applicable, then add your actual drawing reference. A style code helps communication, but it does not replace project-specific dimensions, material specifications or a demonstrated folding sequence.
Specify the document identity
A practical box assembly instruction sheet should show the packaging item code, drawing number, revision date, applicable product set and approved sample reference. Identify separate inserts or sleeves individually. If components have similar shapes, include an orientation view that distinguishes them without requiring the operator to interpret a technical dieline.
Keep the final approved PDF accessible to the receiving team. A filename such as “final-new” provides little control when several suppliers or locations are involved. Use a consistent revision identifier and withdraw superseded copies from the packing station when a change is released.
Show a sequence that a new operator can follow
Present one action per step, with a consistent viewpoint and clear indication of the printed and unprinted surfaces. Show the starting blank, major folds, tab engagement, insert placement, product loading and final closure. Numbered photographs or accurate line drawings usually communicate the sequence more clearly than a paragraph describing several movements at once.
The folding carton assembly sequence must match the supplied construction. If a tab should engage before another panel closes, show that dependency explicitly. Highlight where gentle pressure is expected and where forcing a component indicates a problem. Do not use a generic sequence copied from a different carton style.
Explain closures and inserts separately
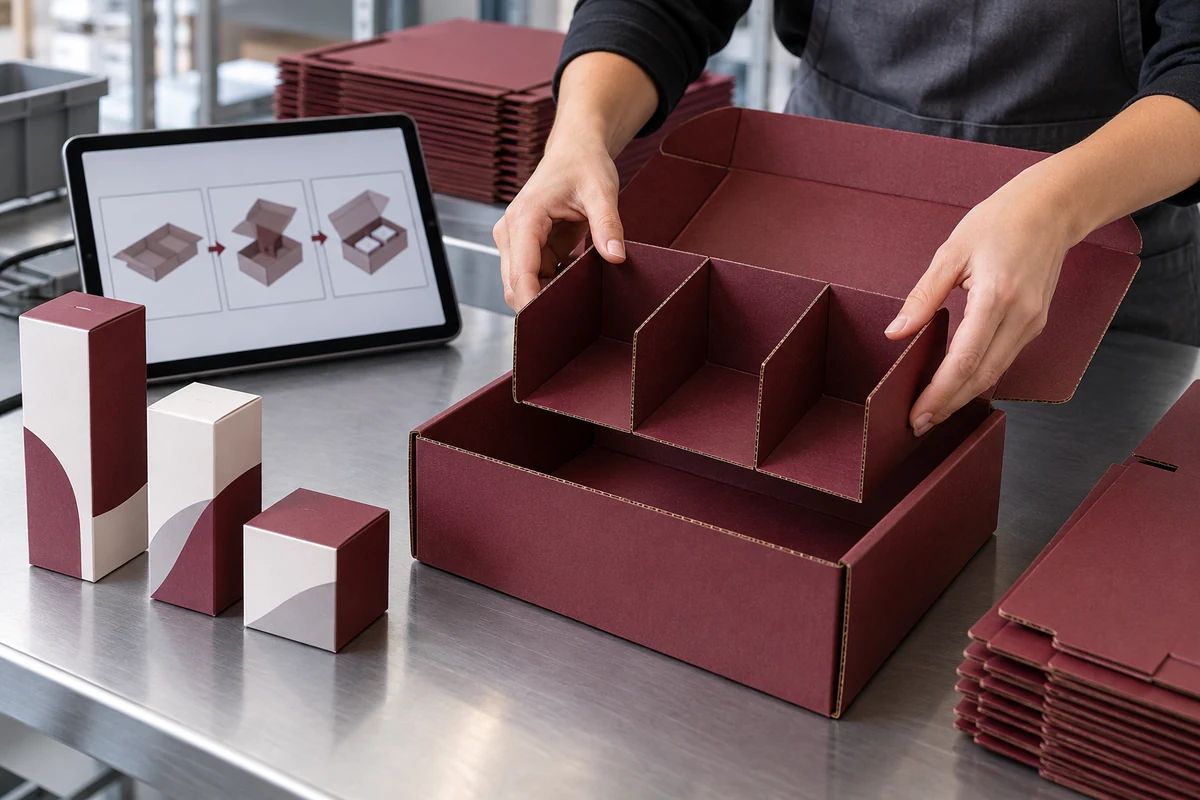
Corrugated mailer assembly steps should show the locking features and the finished corner configuration. For an insert installation guide, show which side faces upward, how partitions intersect and where the product rests. The operator should be able to compare the result with an unobstructed finished view.
Record which consumables are required, if any, and agree their specification with the supplier. Do not silently add tape, adhesive or extra padding during a trial. Those additions may alter the intended closure, product position or customer opening experience. For custom folding boxes, agree the closure and assembly details before artwork and tooling are finalized.
Trial the handoff with the actual product set
An assembly trial should use representative physical packaging and the actual products, or agreed dimensional substitutes when finished goods are unavailable. Include accessories, printed cards, protective wraps and any other components that will appear in the released pack. Missing items can make an unsuitable structure appear acceptable.
Ask someone who did not design the pack to follow the instructions without verbal coaching. Observe where they hesitate, reverse a component, skip a step or apply unnecessary force. This is a training and usability exercise, not proof of transport protection or product safety.
A packaging assembly trial should record the conditions and observations: component revision, product set, operator familiarity, workstation layout, completed quantity and defects. If timing is useful, measure it under those defined conditions and distinguish initial learning from repeated assembly. Avoid presenting a single demonstration as a guaranteed production rate.
Review fit separately using the packaging size guide. A pack can be assembled correctly but still have excessive clearance, interference or poor access for product removal. Correct the underlying fit rather than asking operators to compensate with inconsistent handling.
Define visible acceptance and rejection points
Packaging assembly instructions need a final inspection view as well as a folding sequence. Show acceptable corner engagement, insert seating, lid closure and product orientation. Pair each critical requirement with an observable result so the operator knows when to stop and ask for help.
A packout quality checklist might include a fully engaged base, no loose tabs, an insert seated in the intended position, all required products present, and a closure that reaches its designed position without damaging the pack. Define project-specific appearance limits with approved samples rather than inventing a universal tolerance.
Check the completed pack, including labels
Inspect information that changes visibility during assembly. A label can end up covered by an insert, a flap or another packaging layer. GS1’s barcode quality guidance identifies quiet zones, contrast, deterioration and positioning among the factors to check. Confirm required barcode accessibility and scanning performance on the completed pack in its intended application.
For artwork-specific decisions, use the barcode printing approval checklist alongside the assembly review. Successful folding does not demonstrate barcode compliance, just as a successful scan does not establish that the structure protects the product during distribution.
Release a complete packout handoff
A useful packaging handoff document combines the approved instructions, component list, product arrangement, inspection criteria and escalation contact. Include a clear finished-pack reference and indicate whether the pack is ready for retail presentation or still requires an outer shipping carton. Keep documentary evidence separate from promotional concept images.
Request a short demonstration video when a motion is difficult to capture in still views. The clip should show the same approved revision and sequence as the written sheet. A video is a useful supplement, but a controlled instruction document is easier to reference at a station and attach to an approval record.
For a flat pack gift box setup, confirm whether corner fixation, release liners or other supplied features require particular handling. Ask the supplier to demonstrate the actual structure. Do not assume every collapsible gift box uses the same construction or can be disassembled and reused in the same way.

Update training when the packaging changes
Changes to an insert, product arrangement, board specification or closure can affect assembly even when the artwork stays the same. Include the instructions in change review. Agree who updates the document, who approves the new trial and how older components will be distinguished during the transition.
A fulfillment team training review should occur before the revised pack enters routine use. Record the instruction revision used at each location and capture unresolved questions. Where multilingual teams assemble the product, validate translations against the same physical sequence rather than letting each location develop its own unofficial method.
Link this control to packaging reorder and version management. Replenishment should identify both the physical component revision and the instruction revision, especially when a warehouse holds mixed stock. Operational clarity is part of the purchase decision, not an optional attachment after delivery.
Questions buyers often ask
Should packaging assembly instructions be included in sample approval?
Yes. Review the method alongside a representative physical sample and actual product set. Approve the component revision, folding sequence and finished result together so the receiving team can reproduce the intended pack.
Is a dieline enough for warehouse staff?
Usually it serves a different purpose. A dieline describes the structure for design and production. Operators also need a clear starting view, numbered actions and a finished reference showing product orientation and inspection points.
How should a buyer compare assembly time?
Measure a defined trial with the same product set, workstation and operator conditions. Record learning separately from repeated work. Use the observations to compare options; do not assume a universal rate from a supplier demonstration.
Do clear instructions replace packaging tests?
No. They explain how to produce the intended finished pack. Product protection, distribution performance and any applicable compliance requirements need their own agreed evaluation and evidence.
What happens if operators need extra tape to close the box?
Pause and review the structure, assembly sequence and component fit with the supplier. An improvised change should not become routine without approval of its effect on closure, appearance and the intended use.
What should be sent with a packaging inquiry?
Share product dimensions, the full pack contents, intended box style, assembly location, available equipment and any known handling problems. Request an assembly demonstration and an instruction document tied to the proposed sample revision.
Prepare your assembly brief before ordering
Build your next inquiry around the product, the people assembling it and the finished result you need. Ask Pack Packaging to review the proposed structure and assembly method with your team, and request a sample-based handoff before production approval. Clear packaging assembly instructions help turn an approved design into a repeatable working process.