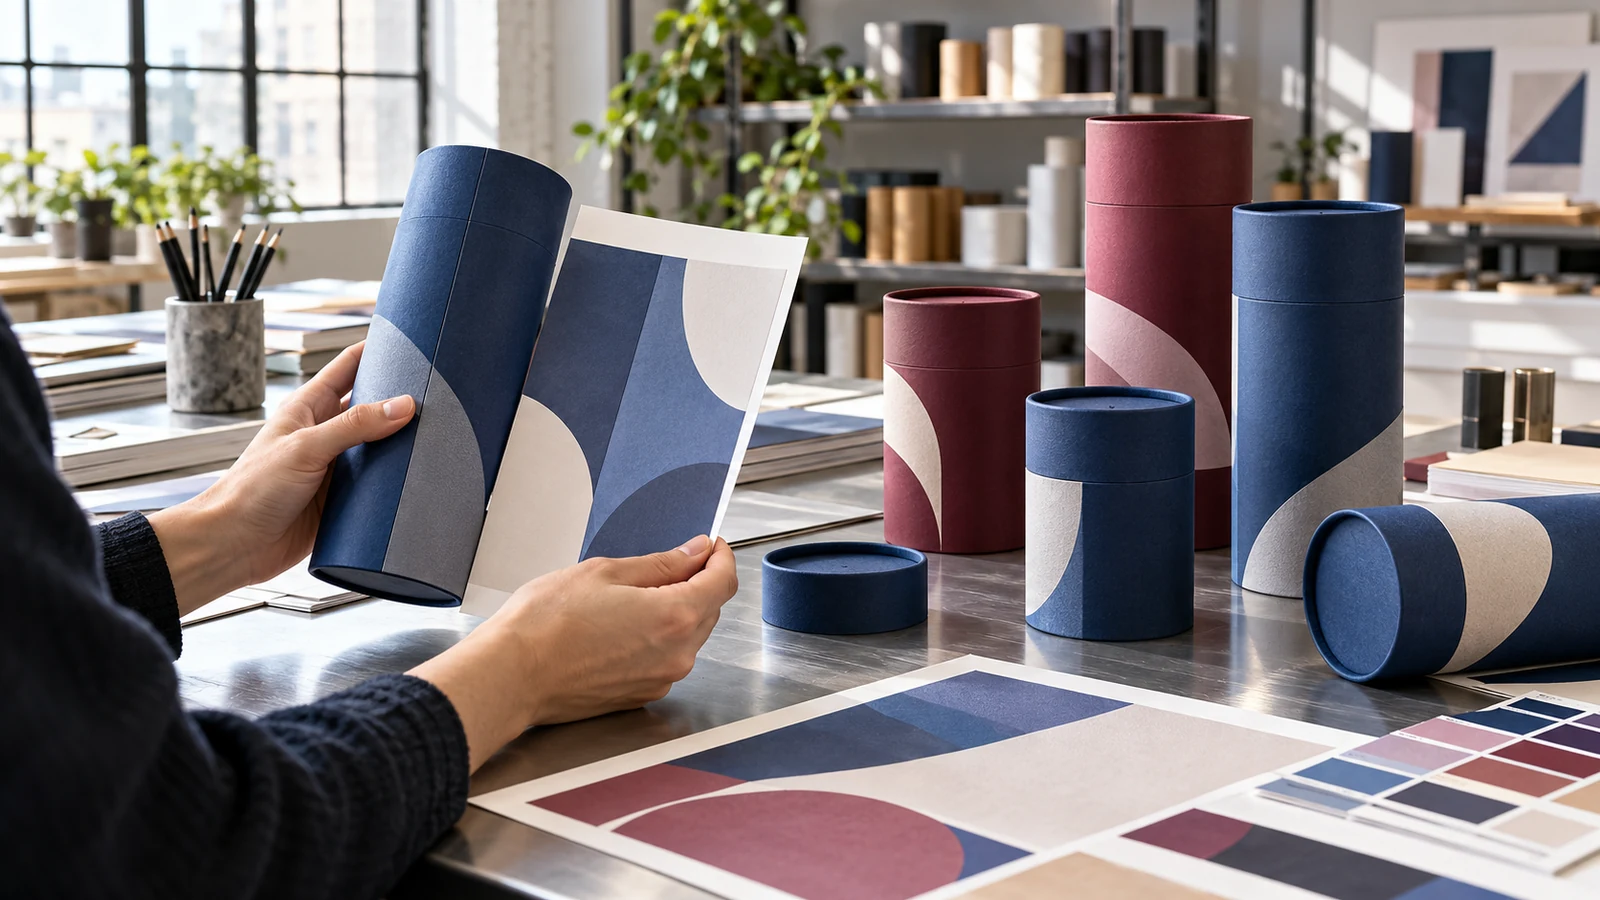
Paper tube artwork seam placement determines where a premium cylinder’s front presentation ends and its manufacturing join begins. A flat proof may look balanced while the finished wrap leaves a logo beside an overlap, hides part of a sentence, or puts a decorative line in a position that cannot stay aligned after opening.
This guide addresses removable-lid paper tubes used as secondary presentation packaging for sealed fragrance, skincare and gift products. Its purpose is an artwork approval brief for buyers, designers and packaging suppliers. The inspection workflow below is a project recommendation, not an industry tolerance standard or evidence that a particular package has passed testing.
Define paper tube artwork seam placement on the assembled pack
Start with a closed sample and identify the primary selling face. Then turn the tube through a full rotation and mark the intended rear join. Agree which graphics the customer should see first, which information should remain readable on the back, and which parts become visible only after the lid is removed.
Keep the decorative wrap join separate from any underlying tube-body joint. Ask the supplier to show both where relevant. The line visible in a render does not establish the construction below it. Para custom round boxes and paper tubes, the production drawing should identify the actual components rather than treating the whole cylinder as one printable surface.
A useful paper tube wrap seam specification names a viewing direction, a front reference and the approved join location. “Put it at the back” leaves room for disagreement if the front exists on a freely rotating lid while the seam belongs to the body. Define the reference on the same component whenever possible.
Request the supplier’s wrap drawing before final layout
Do not create a production wrap by measuring the tube’s apparent diameter in a photograph. Ask for the current supplier drawing for the selected construction, including the visible wrap area, overlap, turn-ins and component identification. Confirm whether a dimension describes the cut sheet or the visible area after assembly.
For custom printed cylinder packaging, a circumference calculation can help explain a concept but cannot replace that drawing. Paper layers, the specified wrap construction and the supplier’s converting method belong in production development. Have the supplier confirm the final dimensions rather than silently adding a guessed allowance.
Nuestro packaging artwork preparation guide covers the wider file handoff. Here, the additional decision is where the flat file ends up around the cylinder. Label each lid, body, shoulder and end-disc file so that a correct graphic cannot be assigned to the wrong component.
Distinguish bleed from overlap and safe space
Adobe’s Illustrator guidance on printer’s marks and bleeds explains that bleed extends artwork beyond the trim boundary. It also advises consulting the print shop about the required amount. This does not define a paper tube’s overlap allowance or the space needed around its join.
Ask the supplier to mark these areas separately. Extend backgrounds as instructed, reserve overlap according to the drawing, and keep critical information inside the agreed visible area. Do not copy a standard bleed value into the join specification and assume both problems are solved.
Build a seam approval map with explicit priorities
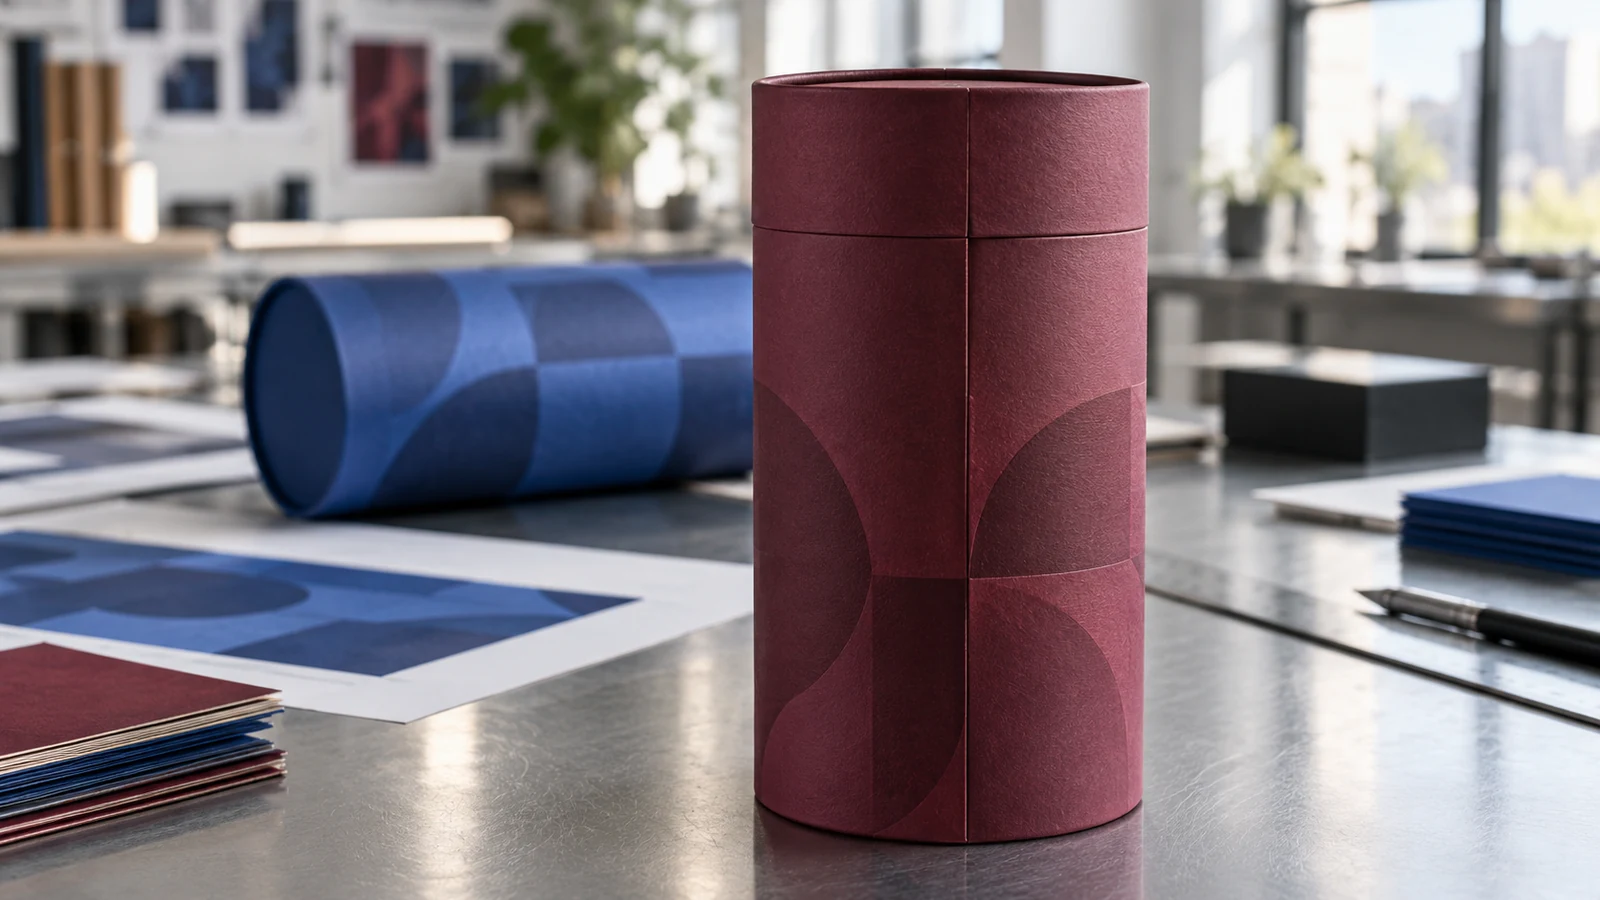
Paper tube artwork seam placement becomes easier to approve when the designer separates critical content from decorative continuity. The following map is a suggested purchasing tool. Agree the actual clearances and appearance limits with the supplier for the chosen material and process.
| Artwork area | Decision before sampling | Evidence to retain |
|---|---|---|
| Front logo and product name | Define the front reference and protected visible area | Marked drawing and front photograph |
| Rear text panel | Keep complete words and required information out of the overlap | Readable assembled sample and released copy |
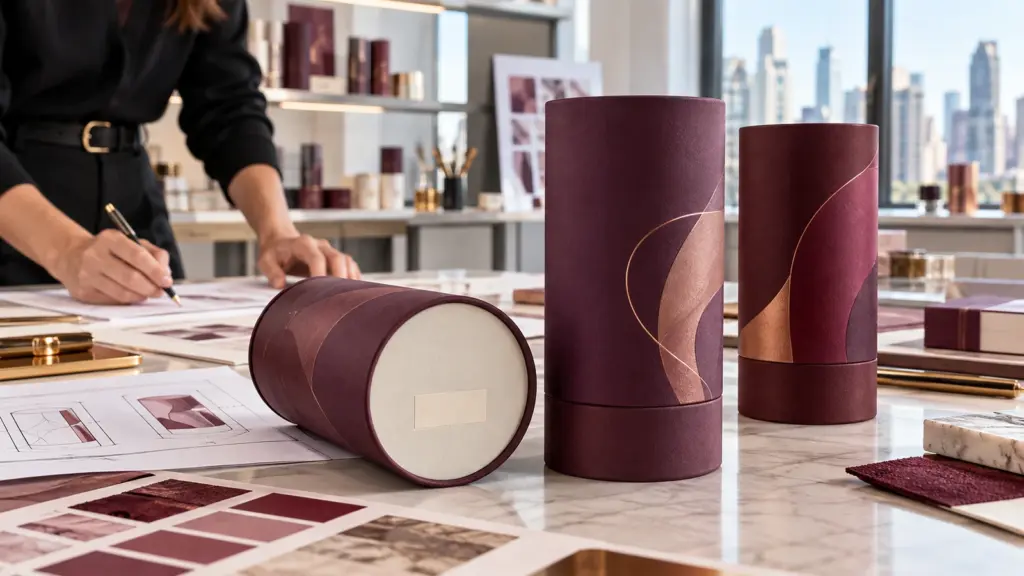
| Wraparound illustration | Choose a deliberate break or an agreed continuity target | Full rotation photographs and reference sample |
| Lid-to-body graphic | State whether rotational alignment is required or optional | Assembly instructions and reseating observations |
| Foil or raised decoration | Identify its relationship to the wrap edge and contact areas | Finished decorated sample |
| Barcode and variable label | Reserve usable space separate from the join | Approved placement and appropriate verification record |
For luxury paper tube label design, consider a quiet rear area that accommodates the join without cutting through a fine border or a small character. This is a design option rather than a universal rule. A continuous illustration may be appropriate if the buyer and supplier can agree what discontinuity is acceptable.
Avoid promising permanent lid-to-body alignment
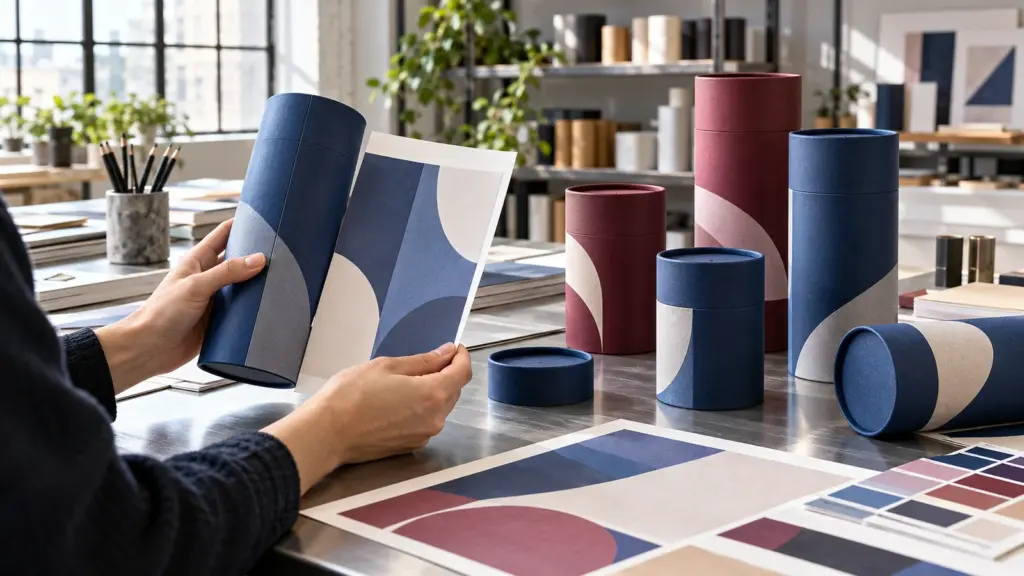
A removable round lid can change its rotational position when someone opens and reseats it. Por lo tanto, a graphic crossing from cap to body needs a separate decision: must it align only during initial pack-out, whenever a user closes it, or merely in campaign photography?
For paper tube lid and body artwork alignment, ask the supplier how the proposed structure controls orientation. Do not infer that a friction fit provides an indexing feature. If alignment relies on manual positioning, record the packing step and evaluate whether that operation is acceptable for the order.
An alternative is to give each component a complete design: a cap emblem and a body composition that work independently. Another is a band whose meaning does not depend on a single rotational position. Compare these options on physical samples before paying for decoration tooling. El lid-fit and unboxing approval guide addresses the separate mechanical opening decision.
Protect rear information without turning this into a barcode project
A cylinder’s back panel often has to accommodate product copy, a barcode and a later-applied label. Reserve these areas while laying out the wrap, rather than placing them wherever space remains after decorative approval. Have the brand’s responsible team approve the required wording for its actual product and market.
GS1 Sweden’s placement guidance advises against positioning barcodes over seams and other interruptions. It also identifies curvature as a consideration for cylindrical items. Confirm the applicable symbol and placement requirements with the relevant GS1 organisation and trading partner; there is no single layout suitable for every tube.
For cylinder packaging barcode placement, an attractive rendering is insufficient evidence. Keep the symbol away from the join in the proposed layout and obtain the agreed verification for the finished construction. This article does not specify a barcode grade, universal offset or regulatory text size.

Review paper tube artwork seam placement through three proofs
Use a sequence in which each approval answers a different question. A screen proof controls content, a wrapped mock-up reveals where graphics land, and a finished sample shows the proposed material and decoration. None should silently substitute for all the others.
- Release the flat layout. Confirm the drawing revision, copy, front reference, wrap direction and component files. Ask the supplier to mark any areas that will become hidden.
- Review a full-size wrapped mock-up. Rotate it slowly and photograph front, rear and both sides. Read the rear panel as a customer would. Record clipped content, an unintended graphic jump or an ambiguous front.
- Approve the finished construction. Inspect the actual specified paper, impresión y acabado. Compare the seam edge, graphic continuity and lid orientation against the agreed reference under consistent lighting.
This paper tube artwork approval checklist should record sample identity, artwork revision, reviewer, date and decision. Photograph an unacceptable example as well as an approved one when possible. Written descriptions such as “join cuts through the last letter” are more actionable than “not premium enough.”
Use our packaging tolerance guide to frame any measurable acceptance limits. For color questions, keep a separate color approval record. Moving the seam does not resolve a color mismatch, and approving color does not release an incorrect wrap position.
Keep the decision consistent across multiple SKUs
For a fragrance collection, use one controlled map linking each SKU to its body artwork, cap artwork and current drawing. A shared outside format does not mean every variant has the same copy length. Review the longest text panel and each distinct decorative arrangement rather than assuming one sample releases the whole collection.
Specialty paper tube printing may also involve different papers or finishes across variants. Record which combination each approved sample represents. If a change moves the join, changes the visible wrap area or alters the front reference, have the responsible team review the affected layout before production continues.
Frequently asked purchasing questions
Can the paper wrap join be completely invisible?
Do not specify “invisible” without an agreed reference and viewing conditions. Ask the supplier to show the proposed construction, then decide which visible edge or interruption is acceptable on the finished sample.
Should the seam always be opposite the logo?
That is a possible layout choice, not a universal requirement. Rear information, decoration and component orientation may affect the best position. Define the front reference and approve the assembled result.
Can one artwork file cover both lid and body?
Only if the supplier’s production workflow explicitly supports that handoff and identifies every component. Otherwise provide separately named files or clearly separated artboards with the corresponding drawing revisions.
Will a digital proof confirm a wraparound pattern?
It can confirm the intended design, but the buyer still needs to review where the graphic lands on an assembled sample. Agree any permitted discontinuity at the join before releasing production.
Do we need to reapprove artwork on a reorder?
Confirm that the drawing, files and specified construction remain unchanged. Review affected areas if a paper, dimension, supplier process or layout changes. Preserve the approved reference instead of relying on an old product photograph.
Send a brief that connects design to assembly
For paper tube artwork seam placement, send PACK Packaging the product details, selected format, SKU list, editable artwork and photographs showing the intended front and rear. Include any requirement for cap orientation and identify the information that must remain unobstructed.
Explore perfume bottle paper tube formats and request a structure and sampling review before freezing the graphics. Sizes and layouts are developed for the project. Ask the quotation to identify the proposed construction and approval stages so that both teams know what the final sample must demonstrate.